
Lighting
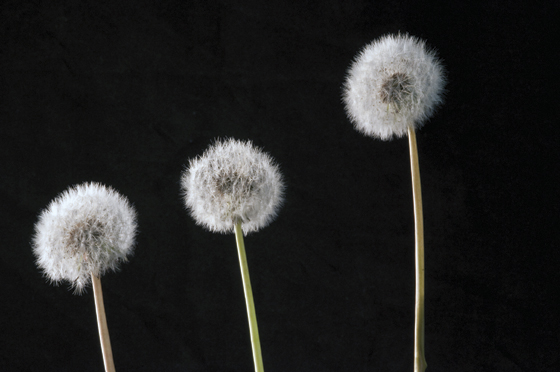 Photo by Sue Howard
Interesting studio-based shots can be achieved using the most basic of set-ups. The kinds of lights that can be found around the home are more than up to the job.
‘Things like professional lights and softboxes look intimidating and expensive, but it’s incredibly easy to put together
your own,’ says Paul. ‘Using an Anglepoise desk lamp is going to give you the same kind of results, particularly when you’re working with macro lenses.’
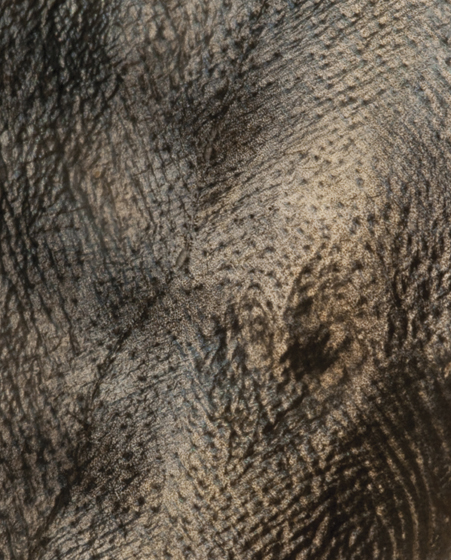 Photo by Sue Howard
Paul suggests using a piece of tissue paper to diffuse the light, but be careful. ‘Bulbs can get hot,’ he says, ‘so you need to be cautious about where you position the paper. It’s probably best held slightly away from the bulb using a clamp.’ Alternatively, you can construct a diffuser out of a box with tracing paper over the opening.
‘You need to diffuse the light because lamps used in the home can often give off an intense beam of light that is no good for what you want to do,’ says Paul. ‘The camera will struggle with that intensity and you are likely to end up with lots of burned-out highlights all over your image.

‘The idea of a diffuser is that it will spread the light out, giving you a much more even distribution of light over a wider area,’ he continues. ‘That’s particularly important when working with flat surfaces, as we are with the fish and wings. You can use two lights on either side of the subject or alternatively place a reflector on one side to bounce light back from the lamp opposite into your composition.’
Placing your light at 90° to your subject gives you some effective side lighting that will make your subject appear more three-dimensional.

‘Side lighting gives your subject more light on one side than the other,’ says Paul.
‘It’s a basic modelling light, which gives your subject
depth.’
Movement
When
shooting macro images, even the slightest movement in the subject can
ruin an otherwise perfectly good shot. But this isn’t a risk that is
exclusive to outdoor photography.
‘When you’re out on location
the macro photographer’s biggest enemy is the wind,’ says Paul. ‘When
you’re indoors there’s still the risk of camera shake or subject
movement. You should ensure that your set-up is placed on a firm, flat
surface. Make sure that you’re not standing on a surface that is made of
old loose floorboards.’

If you’re working at home then there could still be the issue of camera shake due to using high f-numbers and, consequently, longer shutter speeds. A handy tool to reduce the risk is to use a cable release, which will minimise contact with the camera. But Paul also recommends using a function that is built into many cameras – mirror lock-up.
‘You should check your camera’s settings on how to do this,’ says Paul. ‘Mirror lock-up helps to reduce the risk of your camera shaking when you press the shutter and the mirror flips up. Just remember to press your shutter twice – once for the mirror to go up and once more for the shutter.’


