
Breaking it down
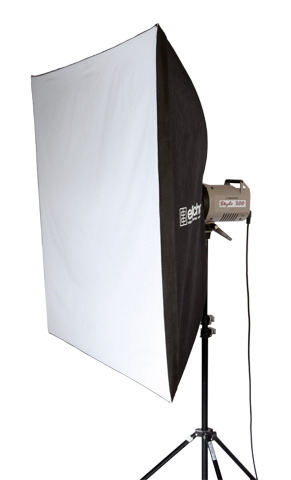 Photo by Andrew Sydenham
The first thing that Andrew is keen to discuss is the type of equipment the readers will be using.
‘Today we’re in a studio environment, so we’ll be using the continuous lighting emitted from our monolights,’ says Andrew. ‘We’ll also be using a series of accessories that we can attach to our lights to shape and mould the subject. However, I don’t want us to look at these lights and accessories as studio equipment. A lot of people can become a little overwhelmed by the numerous buttons and switches on this type of equipment. We just want to use these lights at the most basic level. At the end of the day the lights are just bulbs that can be switched on and off, just like a desk lamp or overhead light. A simple device like a directional lamp can produce some fantastic results when applied correctly. Everyone has desk lamps lying around and these little lights can produce some serious lighting. If you can control that light by using things like makeshift snoots and softboxes, then you’re halfway to producing successful portraits at home.’
Andrew is also keen to point out that the accessories the readers will be working with today can be put together using everyday objects.
‘A softbox is just a box,’ says Andrew. ‘The only difference is that it has a sheet of translucent material over the opening to diffuse the light. That isn’t difficult to do yourself using a cardboard box and some tracing paper or kitchen roll. If you want to diffuse the light even more, you just double up on tracing paper. A snoot can be made from a piece of thick black card rolled into a cone shape and placed over your light source. The point is that anything we do here today can be replicated in the home. Everyone has white sheets or card that can be used as a reflector. That’s one of the most exciting things about this – the DIY trial-and-error nature of trying to replicate these effects in your living room.’


